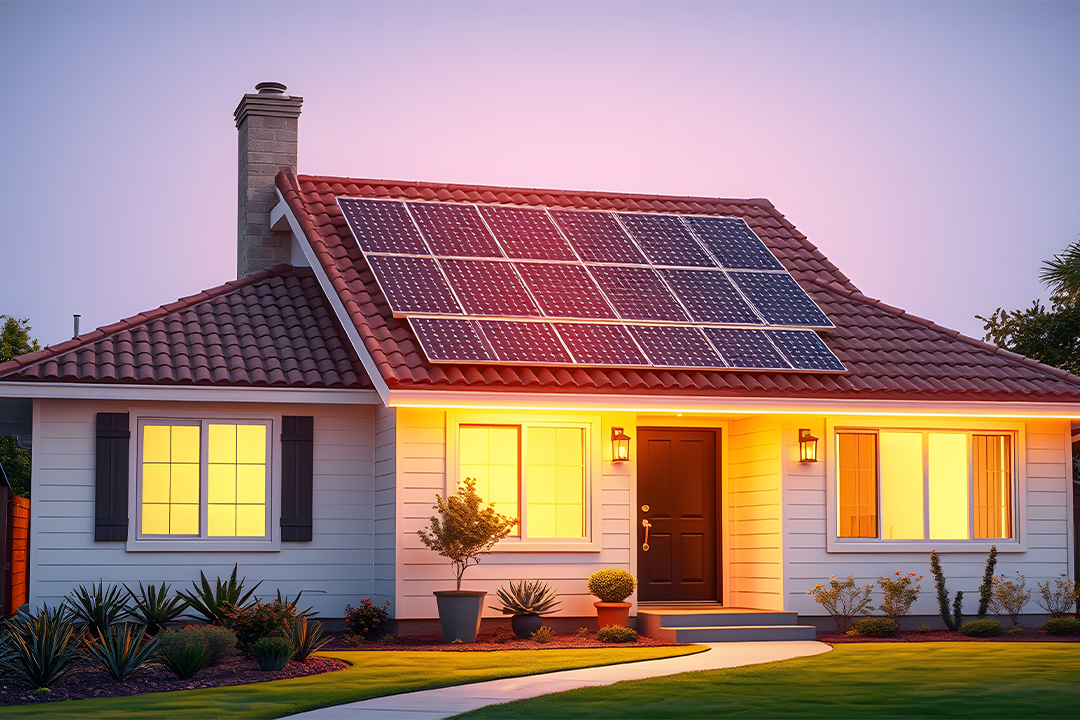
Solar panel installation has gotten easier over the years, but it’s still not your usual do-it-yourself project. Even a licenced electrician needs training in solar installation on a roof and education on local fire code and permitting procedures to conduct a secure installation.
If you’re just interested in knowing how solar is installed on your roof, here’s a quick five-step guide.
Step 1: Find a Solar Installer and Get an Estimate
First Step in the process of going solar is to find a reputable solar installer and obtain an estimate for your solar project. Start by researching local solar companies or installers that operate in your area. You can seek recommendations from friends, family, or neighbors who have already installed solar panels or explore online directories and customer reviews to find reliable installers. Once you have a shortlist of potential installers, reach out to them and request an estimate for your specific solar project. A good solar installer will conduct an assessment of your property, taking into account factors such as roof orientation, shading, and energy consumption patterns to provide an accurate estimate. They will also discuss the various solar options available, such as the types of panels, system size, and financing options. Evaluating multiple estimates will help you compare costs, system designs, warranties, and the overall reputation of the installers, allowing you to make an informed decision about which installer and solar solution best meet your needs.
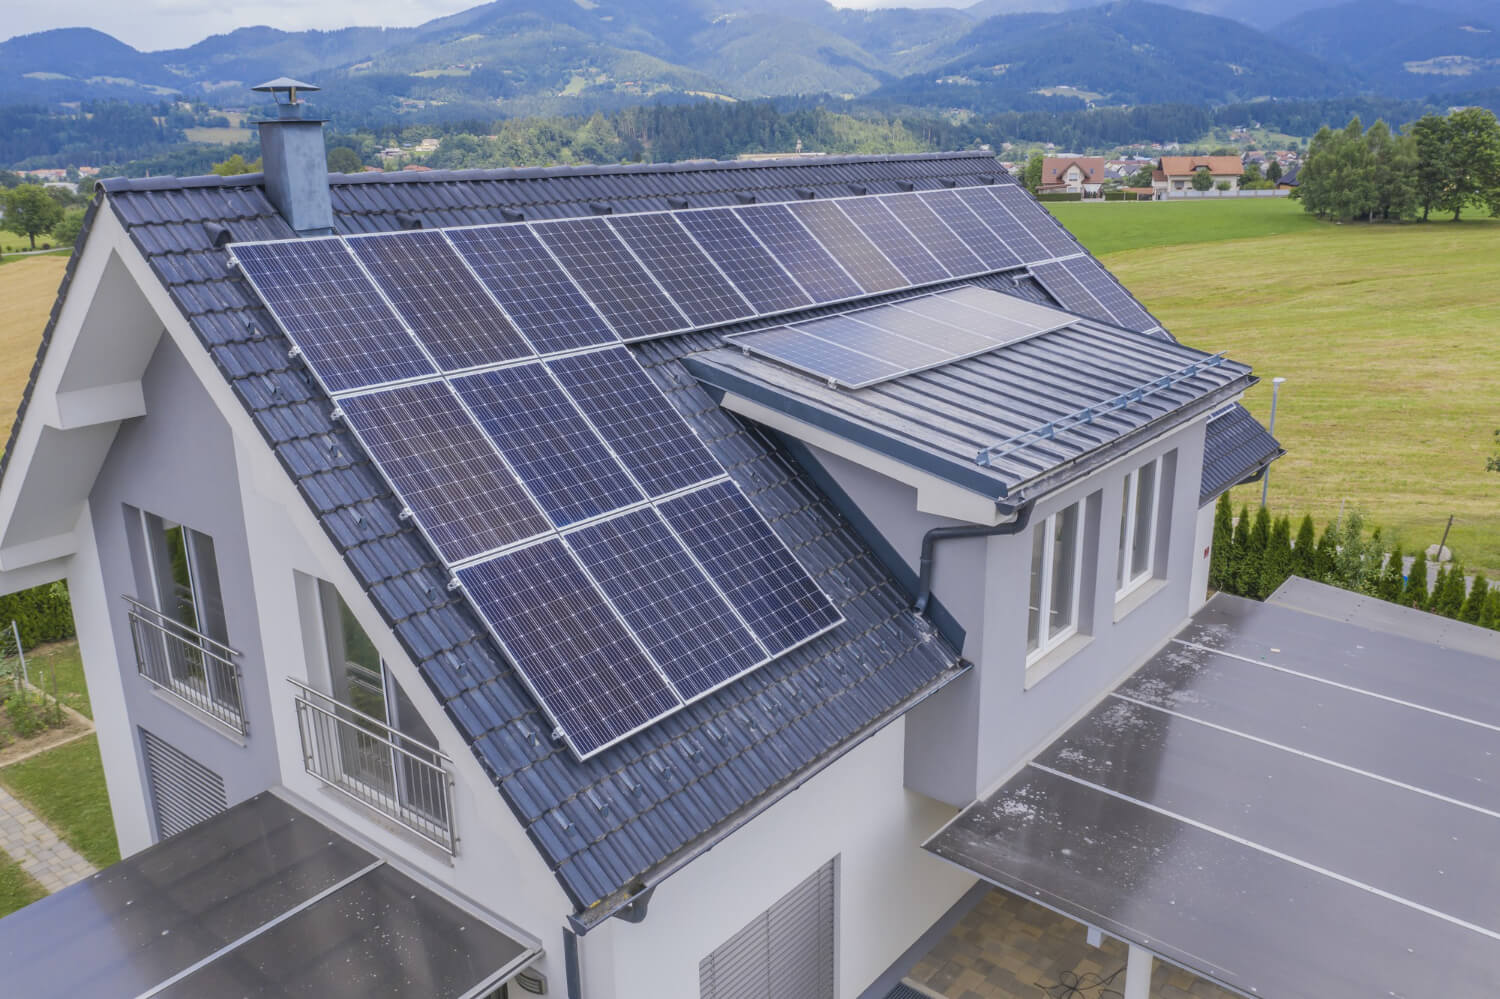
Step 2: The Home and Site Evaluation
The home and site evaluation is a crucial step in the process of installing solar panels. It involves assessing your property and determining its suitability for a solar energy system. During the evaluation, a solar installer will typically conduct a thorough examination of various factors that can affect the performance and efficiency of the solar panels.
The evaluation starts with analyzing your home’s energy consumption patterns and understanding your specific energy needs. This information helps in designing a solar system that can offset a significant portion of your energy usage. The installer will also assess the available roof space and orientation to determine the optimal placement of the solar panels. Factors such as roof pitch, shading from nearby structures or trees, and obstructions are taken into account to ensure maximum exposure to sunlight.
Additionally, the installer will evaluate the structural integrity of your roof to ensure it can support the weight of the solar panels. They will check for any roof issues, such as leaks or deterioration, which may need to be addressed before the installation. Electrical considerations will also be made, including the accessibility of the electrical panel and determining if any upgrades or modifications are required.
Overall, the home and site evaluation provides valuable information for both you and the installer. It allows you to understand the potential benefits of solar energy for your home and provides the installer with the necessary information to design and customize a solar system that best fits your property and energy needs.

Step 3: Design and Permitting Phase
The design and permitting phase is a crucial step in the process of installing a solar energy system. Once you have chosen a reputable solar installer and completed the home and site evaluation, the design and permitting phase begins.
During this phase, the solar installer will create a detailed design for your solar energy system. They will consider factors such as the size of the system, the number and placement of solar panels, and the electrical components required. The design will be customized to your specific property and energy needs, taking into account any site-specific considerations identified during the evaluation phase.
Once the design is finalized, the solar installer will proceed with the permitting process. This involves submitting the necessary documentation and obtaining the required permits from the local authorities or utility companies. The permitting requirements vary depending on your location and can include building permits, electrical permits, and interconnection agreements with the utility company.
The design and permitting phase requires careful attention to detail and compliance with local regulations and codes. The solar installer will handle the paperwork and coordination with the authorities on your behalf, ensuring that all necessary permits are obtained before moving forward with the installation.
This phase sets the stage for the actual installation of the solar energy system. By completing the design and permitting process, you can have peace of mind knowing that the solar system is being designed and installed in accordance with the highest standards and that all the necessary approvals are in place.
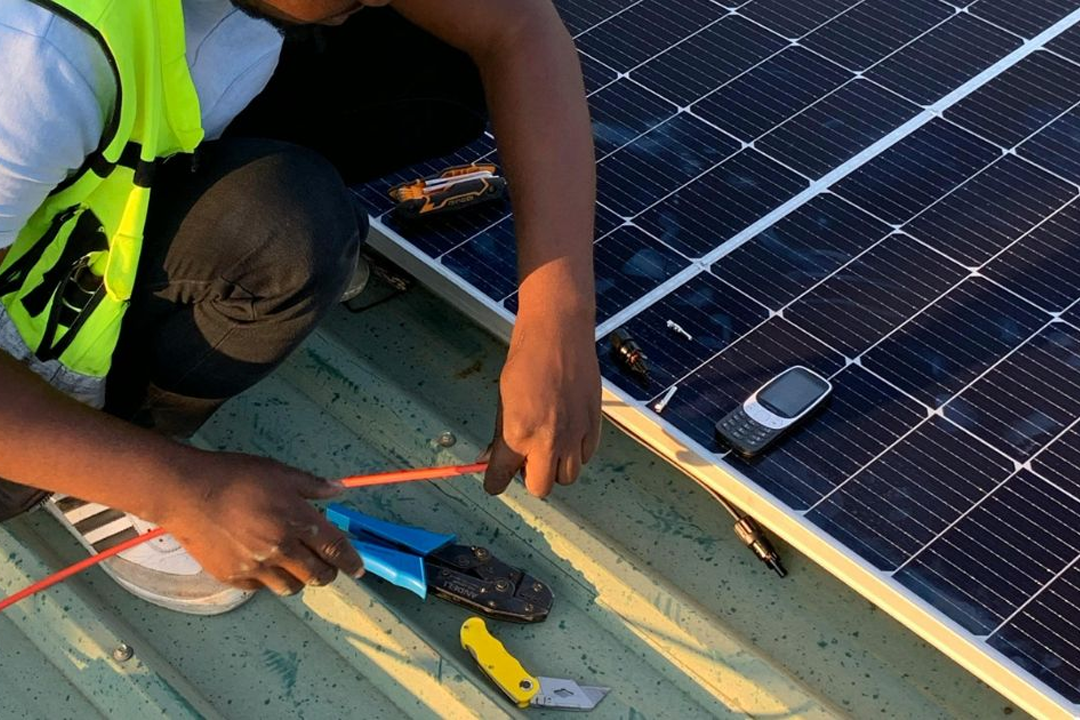
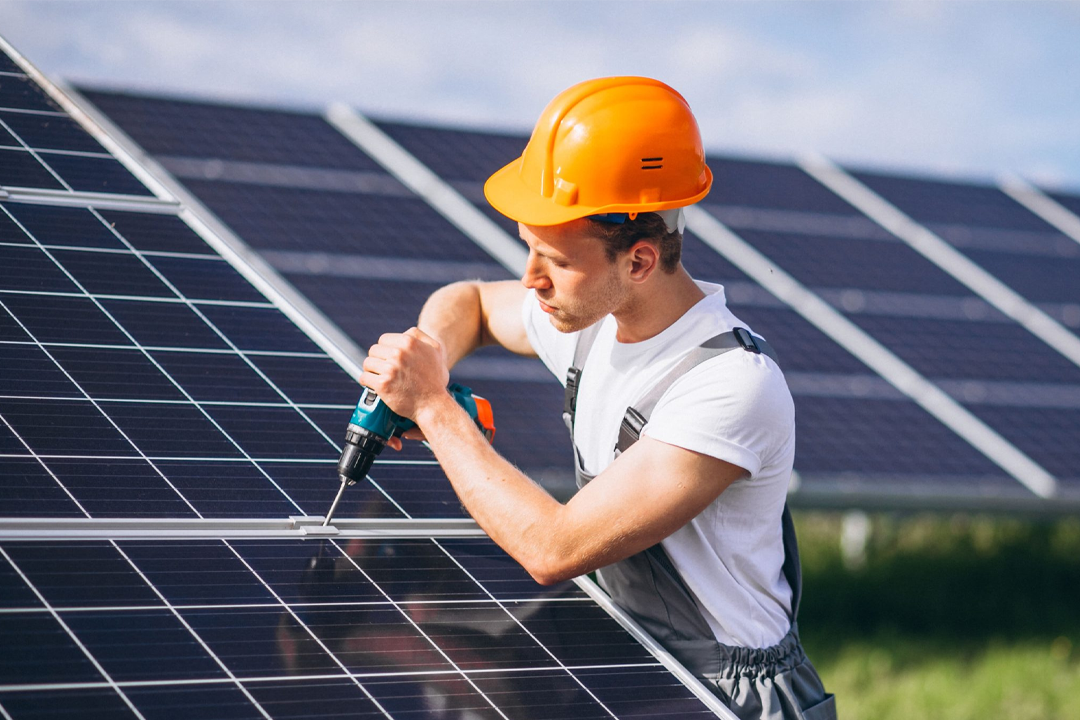
Step 4: Solar Installation
The solar installation phase is a crucial step in transitioning to solar energy. Once the design and permitting process is complete, the physical installation of the solar panels begins. The installer prepares the site by clearing any obstructions and ensuring a secure mounting surface, whether it’s the roof or a ground-mounted structure. The panels are then installed, securely mounted, and connected to the wiring and electrical components. The inverter, which converts the DC electricity produced by the panels into usable AC electricity, is also installed.
After the physical installation, comprehensive testing and inspections are conducted to ensure the system’s proper functioning and compliance with safety standards. This includes checking electrical connections, verifying inverter performance, and conducting system performance evaluations. Once the system has passed all necessary inspections, it can be connected to the electrical grid or the home’s electrical system, with the installer working in coordination with the utility company to establish the proper connections.
Throughout the installation phase, the solar installer prioritizes safety, quality, and adherence to relevant codes and regulations. They provide guidance on system maintenance and operation, including instructions on how to monitor performance and maximize the benefits of the solar energy system.
By the end of the solar installation phase, your property will be equipped with a fully functional solar energy system, ready to generate clean and renewable energy from the sun. The installer ensures that the system is installed professionally and efficiently, with a focus on long-term performance and sustainability.
Step 5: Inspection and Interconnection
After the physical installation of the solar energy system, a crucial step is the inspection and interconnection process. Inspections are conducted to ensure the system meets safety and quality standards. This includes checking electrical connections, verifying proper installation of components, and assessing overall system performance. Once the system passes inspection, the interconnection process begins. This involves working with the utility company to establish the necessary connections between the solar energy system and the electrical grid. The interconnection process ensures that excess energy generated by the system can be safely fed back into the grid and that the system is properly synchronized with the utility’s infrastructure.